 Windows
 French Doors
 Patio Doors
 Front Doors
 Roller Shutters
 Window Sills
Windows
French Doors
Patio Doors
Front Doors
Roller Shutters
Window Sills
Window Sills
Windows
French Doors
Patio Doors
Front Doors
Roller Shutters
Window Sills
Anyone who wants to install new aluminium, uPVC or natural stone window sills, has to first remove the old models. But there is no need for professional help. This manual will help you to plan and perform the professional removal of the sill. It will list all necessary tools, guide you through all steps and point out the important factors. Removing the window will be as easy as a walk in the park. Besides this manual, you will also need a few tools for the removal. No matter if you want to remove aluminium, uPVC or natural stone window sills, the proper equipment is absolutely necessary. You should make sure to have the following equipment:
Materials
Tools
You will have to prepare the old construction component before the actual removal. If furniture, tiles or laminate are in the closer surrounding, they should be covered with either a sheet or foil.
Window sills are sometimes plastered into the masonry. The plaster can fall of while removing an aluminium, uPVC or natural component and can dirty furniture, tiles and laminate. Especially when working with a crowbar or chisel, take care, as flying fragments may damage the frame. This is why it is recommended to cover the frame as well.
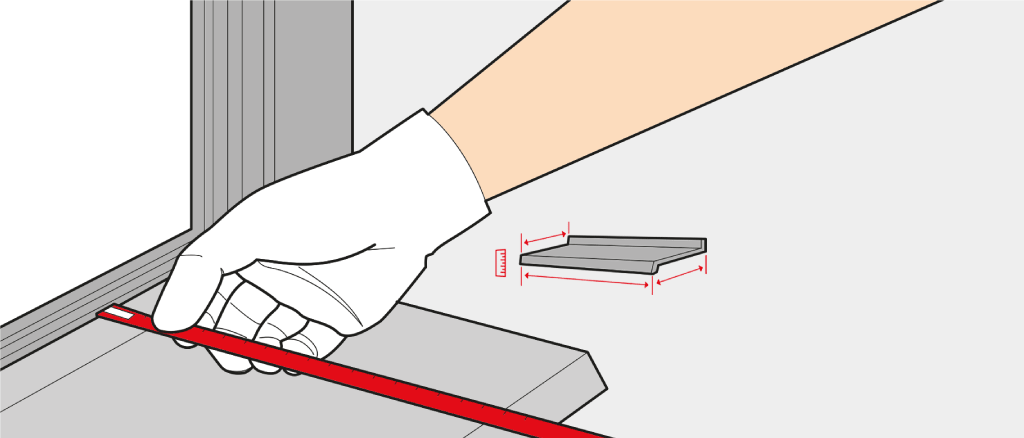
You should re-measure the dimensions of the old window sill and compare it with the new one before removing it. This will ensure that the installation process can be performed smoothly (Fig. 1).
The outer components are usually made of aluminium and are attached to the frame with screws. You will therefore only need a cordless screwdriver and the appropriate bits for this task.
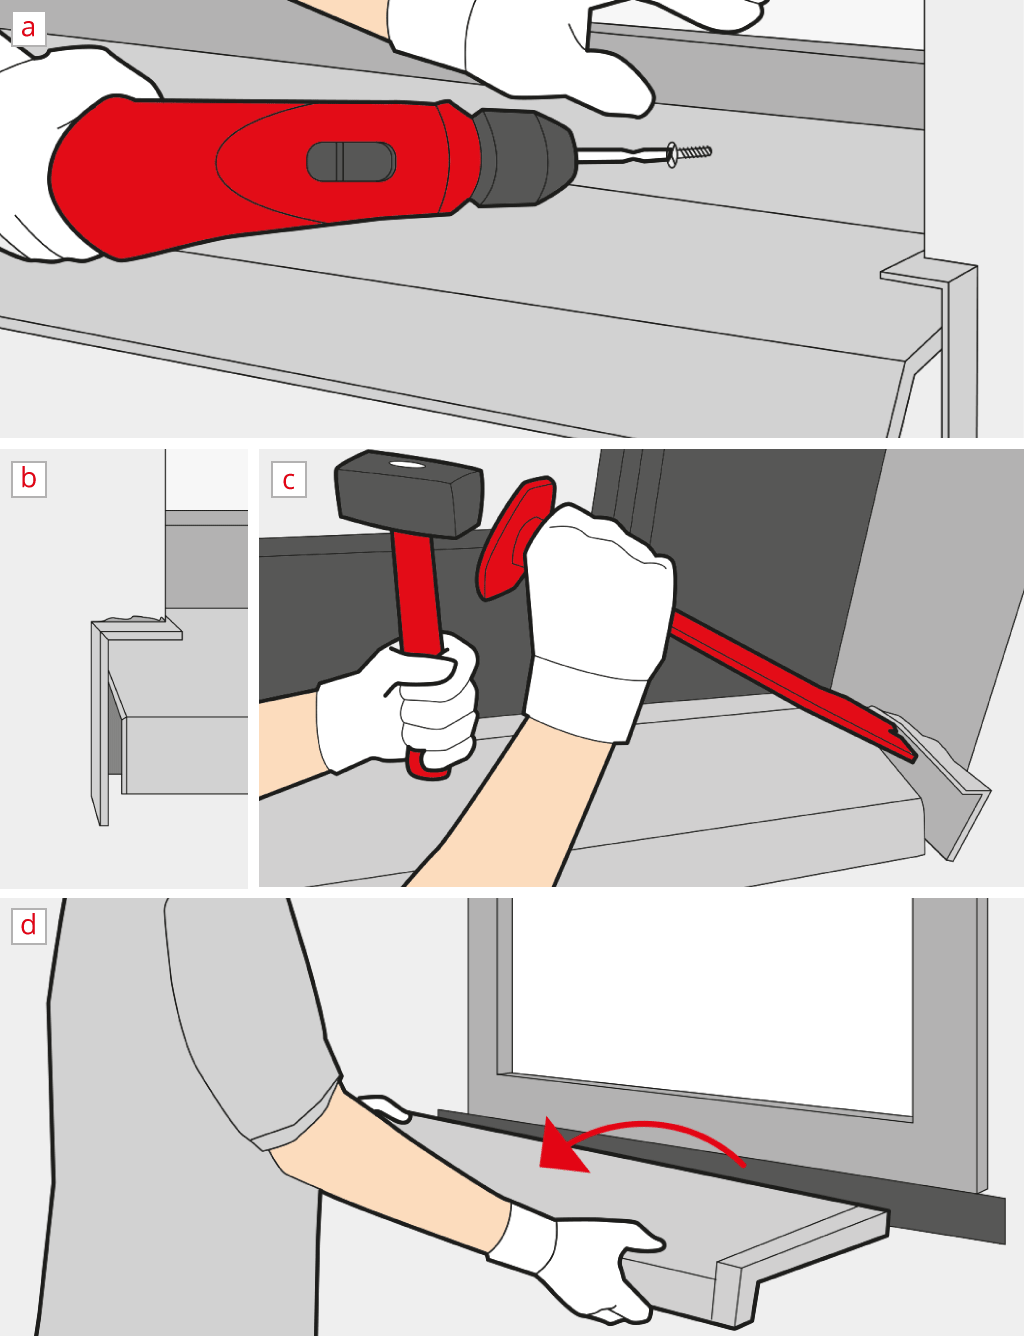
A sill that is mounted inside is also usually not sealed in the wall - unless it is a natural stone model. The common models are just attached to the plaster and the removal should not be a problem.

No matter if you remove the element outside or inside, this manual will help you perform the removal without complications. You can then restore the old components and re-install them on another window or in your winter garden.