Windows
 French Doors
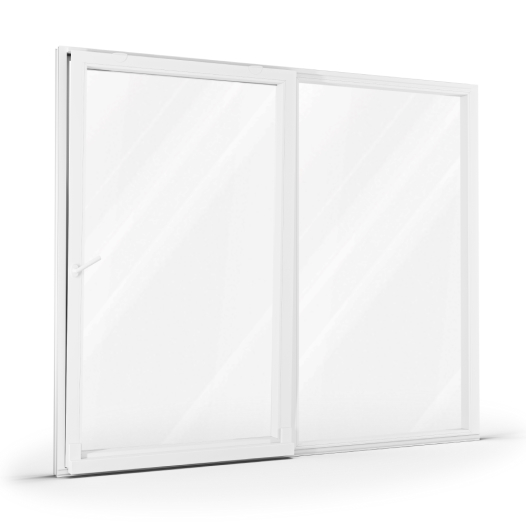
 Patio Doors
 Front Doors
 Roller Shutters
 Window Sills
Windows
French Doors
Patio Doors
Front Doors
Roller Shutters
Window Sills
Window Sills
Windows
French Doors
Patio Doors
Front Doors
Roller Shutters
Window Sills

Patio door removal is important for renovation projects. Once the new lift and slide, tilt and slide, smart slide or bifold door has been delivered, the old patio door should be removed. Thanks to our guide this is made simple.
Split into two main sections, we explain how to remove the door from its frame, followed by how to remove the frame itself.
As each type of patio door differs in terms of how it should be removed from the frame, there are sub-sections explaining each case.
Materials

Before removing a current patio door, it is important to measure it first.
Please refer to our guide "how to measure patio doors" for the process.
The new door should also have been delivered and ready to install.
Additionally, we recommend covering the area surrounding the door with plastic foil to collect dirt and protect surfaces.
The necessary tools should also be collected ready to use and a team of around 4 people will be needed to safely install a larger door.
How the patio door should be removed from its frame differs for each type so please refer to the relevant section
How an existing lift and slide patio door’s mobile sash should be removed differs depending on whether it is made from aluminium or not. The process is also best carried out by a professional.

To remove the mobile sash:
To remove the mobile sash:
After following the material-specific procedure above to remove the lift and slide patio door's mobile sash from the frame, the fixed panel should be removed. This can be done in the same way for all lift and slide patio doors – the panel's glass should be taken out, then the fixtures unscrewed, and the panel removed.

To remove an existing tilt and slide patio door, the following steps should be followed, ideally by a professional:

Bifold doors feature a main panel connected to other door sashes. To remove them these steps should be followed, ideally by a professional:
For all types of patio doors, whether bifold, lift and slide, or tilt and slide, once the door has been removed from the frame, the frame itself can be cut and removed in the same way:

Please note that removing door frames takes some patience and strength:
If you have questions about removing existing patio doors, please contact our in-house experts on +49 711 860 60 200, via email at info@windows24.com, or by arranging an appointment.
Our team can also provide professional, tailored advice on how to remove patio doors with roller shutters or guide rails where processes may differ slightly.
Book a meeting now