 Windows
 French Doors
 Patio Doors
 Front Doors
 Roller Shutters
 Window Sills
Windows
French Doors
Patio Doors
Front Doors
Roller Shutters
Window Sills
Window Sills
Windows
French Doors
Patio Doors
Front Doors
Roller Shutters
Window Sills
Would you like to remove an exterior door to repair or replace it? Any do-it-yourself enthusiast can save money by using this step-by-step manual for the removal process. The instructions will help you to smoothly remove doors for procedures that require sanding off, or to install completely new ones. The work can easily be performed by laypersons, as they will only need the required tools. You will be guided through the procedure by this manual, which will provide detailed information about the entire process. To remove exterior doors, you should make sure that all necessary elements are at hand. If the tools are within reach, the working procedure will be much easier.
Materials
Tools
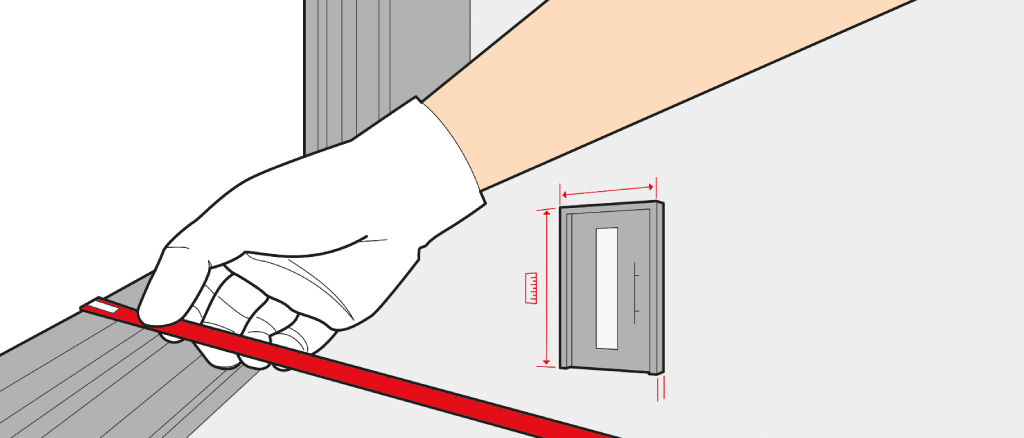
If all of these elements are ready to use, you can begin with the removal. Make sure that the floor and all furniture in the area around the work place are covered with sheets or foil to protect them from possible damage. After making sure of the above, you should additionally check if the dimensions of the door reveal match the new door (only necessary when installing a new door). Please only start to remove the door, when you are sure that there are no deviations.
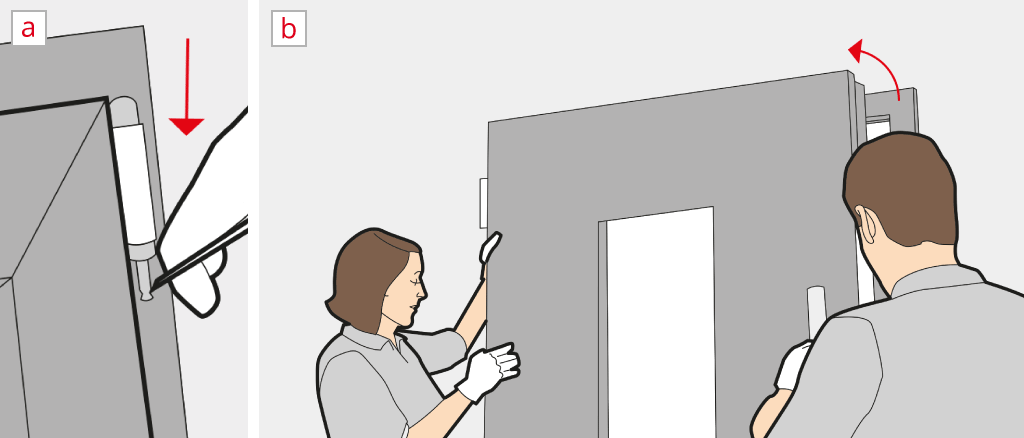
Exterior doors differ in terms of material, colour and locking mechanism, but most mechanical components are identical. Almost every exterior door has a frame, door leaf, a locking or profile cylinder, hinges and fittings. Before you can start to remove the frame, you have to lift off the leaf from the hinges in the first step.
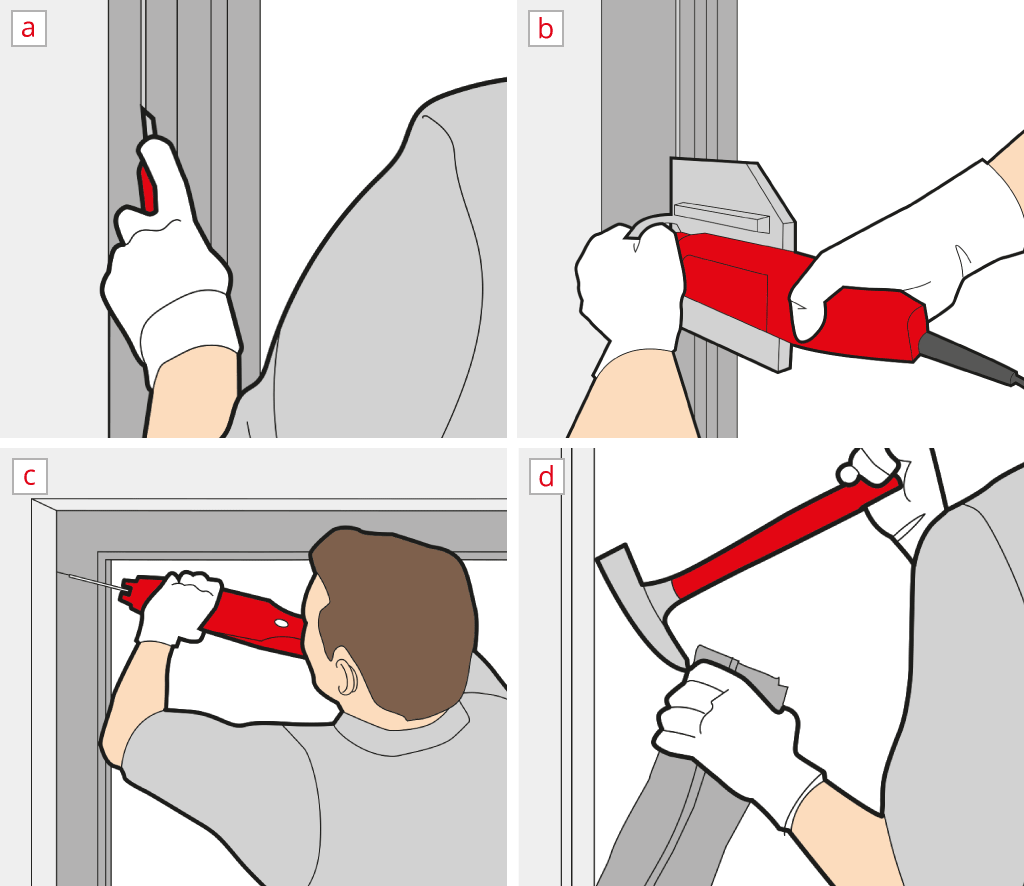
Exterior doors are subject to constant stress on a daily basis. This is why it is tightly installed to the masonry. These specific mountings need to be cut, before you can exchange the exterior door. In the next step you will need a hand-held milling machine or a rip saw – and later on a crow bar.
If you follow this manual closely, you will not have to hire professionals for the removal process. All you need are: manual skills, a helping hand, the correct tools and this detailed manual.